Table of Contents
Nail polish is a liquid that can be applied to the fingernails or toenails to give colour, shine, or design. There are several types of nail polish: traditional nail polish, gel polish, matte nail polish, glitter nail polish, and quick-dry nail polish. It contains nitrocellulose, which is a film-maker when the solvent evaporates when applied to the nail. The nail polish makes the hand neat and clean because it prevents the growth of the fungus and bacteria. Some nail polish has vitamins and minerals that strengthen the nails and makes the cuticle clean. The nail polish keeps the moisture and at the same time gives colour to the hands. There are different shades and colours of nail polish and should be chosen depending on the person’s preference and what suits their complexion.
A monthly visit to the nail salon is undeniably costly, so the alternative way to make the nails presentable is to do it at home. Several nail art designs are easy to do for beginners even without a nail kit at home. Many beginner-friendly designs are all over the internet. These are some easy nail designs that can be totally done, White Stripe Design, Wavy Red Nail Design, Statement Red Nail Design, Shimmering Tips Nail Design, Pastel Mismatch Nail Design, Golden Stripes Nail Design, Starry Details Nail Design, Teal and Gold Nail Design, Party Dots Nail Design, and Colourful Lines Nail Design.
Listed below are the things to consider when choosing a nail design
- Style and Personality: The personality of a person can be told by the nail design of the person. The nail design should fit the personality and the preferences. It should match the style or the outfit. Choosing a nail design can complete or destroy the outfit.
- Occasion: The occasion should be considered on choosing a nail design. Some designs are appropriate for specific occasions like Christmas, weddings, or professional events. There are nail designs that are all-around or flexible for all occasions.
- Skin tone: Skin tone should be taken into consideration when choosing nail polish. There are shades or colours to avoid depending on a specific skin tone. Pastel colours complement those who have a pale complexion. For those who have fair skin, many shades are available and can complement their tone. Avoid using green and orange colours. For those who have tanned skin, avoid neutral colours same with the skin colour. Bright colours are best for tanned skin. Use dark red, mocha, and dark green shades for those who have dark skin tones. Avoid the colours dark brown and white.
1. White Stripe Nail Design
The White Stripe Nail Design is a simple nail design of a thin white stripe down the middle. The tools that are needed are white nail polish or gel polish, a clear base coat, a top coat, a tweezer, a striping brush, or regular tape. To achieve the White Stripe Nail Design, apply first the clear base coat onto the nail. If using regular tape, cut two straight strips. Put the strips onto the middle part of the nail in a parallel position, leaving a space in the middle of the two strips. Don’t apply the tape over a wet base coat. Smooth down the tape. Apply the white nail polish or the gel polish into the space between the two strips. Rip off the tape using a tweezer as soon as done painting the nails. If using a striping brush, no need to use tape. Put a straight line in the middle of the nail using a striping brush with a white nail or gel polish. Make sure the nail is completely dry before applying the top coat.

2. Wavy Red Nail Design
The Wavy Red Nail Design is an abstract wave design that offers the slightest effort but is top. This design is best with a long oval-pointed nail shape. The tools that are needed for making a Wavy Red Nail Design are red nail polish, a clear base coat, a top coat, sheer neutral nail polish, and a long striping nail art brush. Prepare and file the nail onto the desired shape. Apply a thin layer of a clear base coat. Apply two to three coats of sheer neutral nail polish as a base shade and let it dry for one minute. Put a red wavy line across the nail using the long striping nail art brush. To create a wavy shape, start on the left side of the nail. Move upwards and then downwards. The waves will vary depending on the nail shape. To vary the shape, add more weight to one side. To establish a clean shape, regularly clean off the brush by rinsing it in acetone to get rid of the old polish and wipe it on a towel. Dip back the crush into the red nail polish and repeat until the desired wavy shape is reached. Apply the top coat when the nail polish dries.

3. Statement Red Nail Design
The Statement Red Nail Design is a timeless, popular, and classy manicure option. Red nails have the power to catch attention but are not always suitable for all occasions. The tools that are needed for the Statement Red Nails Design are red nail or gel polish, white nail polish, a fine-tipped brush, top coat, and base coat. Put a base coat on the nails after cleaning and preparing the nail into the desired shape. When the base coat dries up, apply red nail polish or gel polish. Instead of full and all red-manicured nails, make the few nails solid red and two statement ones. Make a simple accent on the ring fingers using the desired colour that matches the red nail polish and the fine-tipped brush. It could be a white star accent, cherry, snowflakes, or red-white stripes. After applying nail polish and accent on the nails, put the top coat when nail polish dries.

4. Shimmering Tips Nail Design
The Shimmering Tip Nail Design is a glittery and sparkling accent that makes the nail cheerful and glammed up. It is a nice and classic nail design that can be used every day and for any occasion. The tools that are needed to achieve Shimmering Tips Nail Design are any desired colour of nail polish, glittery nail polish, make-up sponge, toothpick, top coat, and base coat. Apply a base coat. Paint the nails with any colour, best if nude colour. Let it dry for 5 to 15 minutes. Pick a glitter nail polish. Draw the brush across the fingertip of the nail. Drag the nail polish down the middle of the nail for a gradient effect. Use the toothpick to place the glitter in the middle to look like the glitter is raining down the nail. When the nail polish is dry, repeat applying the glitter nail polish on the tip of the nails. Another way to achieve a Shimmering Tip Nail Design is by using a sponge for applying glitter nail polish. Wipe 5 layers of glitter nail polish on the sponge. Use barrier when sponging on glitter. Focus on the tip of the nail. Move it up once most of the glitters are gone. Once the sponge is empty, refill with 2 layers of glitter nail polish. Dab the sponge on the nails and focused in the middle for a gradient effect. Finish it with a top coat.
5. Pastel Mismatch Nail Design
Pastel Mismatch Nail Design is wearing different pastel colours which either came from matching colour families or set powerful contrast on each nail. Pastel colours are a family of colours of any hue, identified by relatively high lightness and low saturation. These are some modern pastel shades: pink, rosé, lilac, lavender, soft-grey blue, apricot, pastel taupe, and retro mint It is an unusual substitute for the classic matching nail design. Pastel Mismatch Nail Design gives individuals freedom and room for creative imagination. This nail design is easy to wear in an everyday life, but it must match the rest of the style and the occasion. The tools that are needed are different pastel colour nail polish, top coat, and base coat. Apply a base coat on the nails. After it dries up, put the desired pastel colour on each fingernail, then apply the top coat.

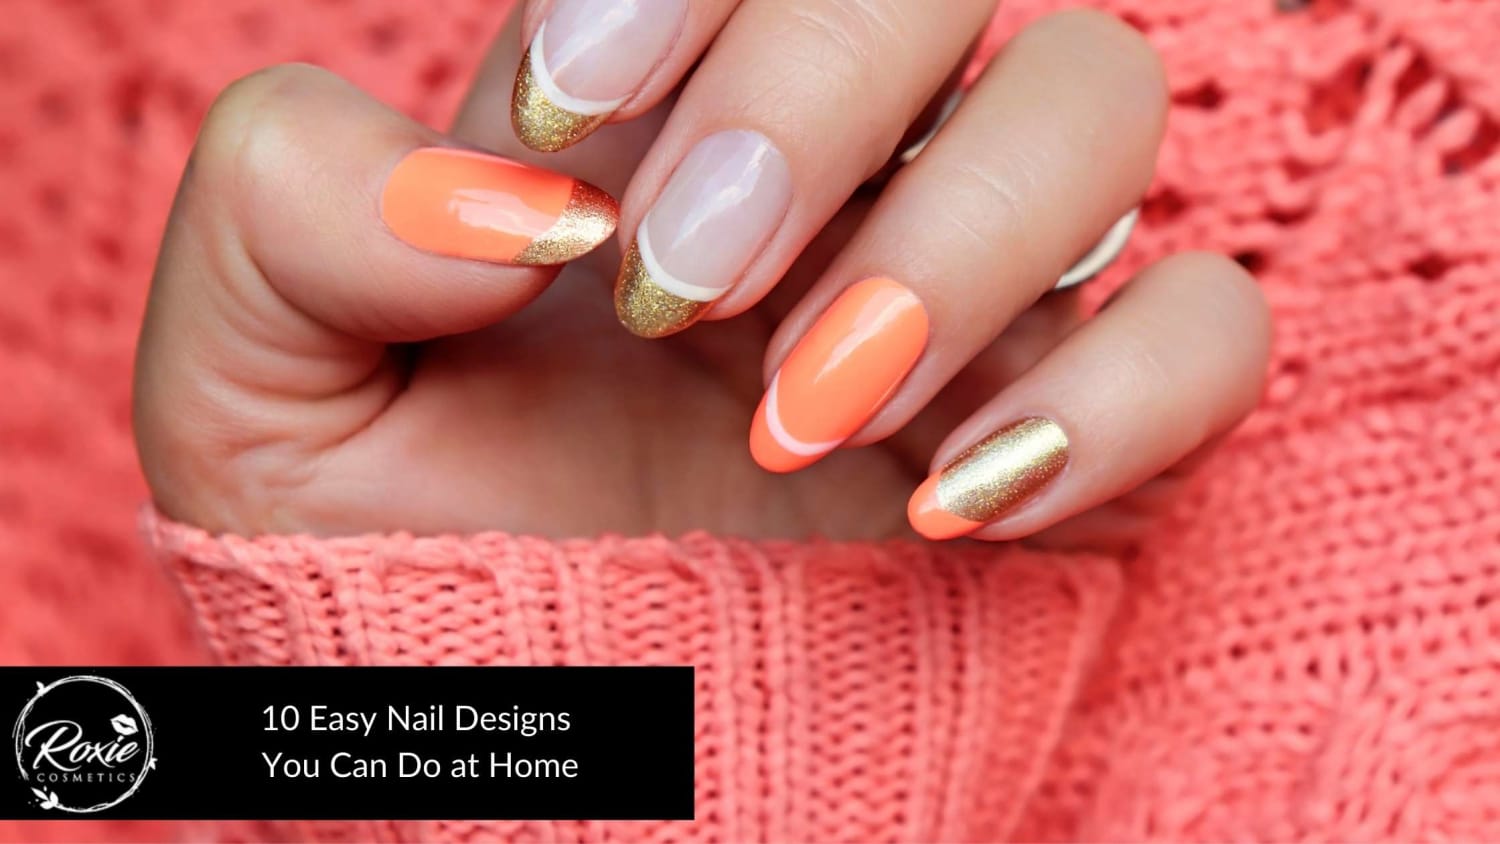
6. Golden Stripes Nail Design
Golden Stripe Nail Design is a fine statement by putting gold stripes down the fingernails. This nail design is best for parties. The tools that are needed to achieve Golden Stripe Nail Design are thin gold nail tape, nail scissors, nude or pink nail polish, and a top coat. Apply the nail polish twice, with dry time between each coat. Cut a strip of gold nail tape that is about 1-inch and place it ⅓ of the way up to the middle nail and let it hang over the edge. Cut the excess tape using the nail scissors and press the tape to firmly place it on the nail. Cut another 1-inch gold tape and place it across the nail where the first piece ends and cut the excess tape. Do the same process on the ring finger, but do it oppositely and do a horizontal line on the rest of the fingers about ⅓ of the way up the nails. Firmly press the tapes and apply the top coat.

7. Starry Details Nail Design
Starry Details Nail Design is a classic, unique and easy nail art design in which the detail is solely a star. To achieve a perfect outcome at home, either a freehand drawing of a star or using nail polish decals. The Starry Details Nail Design can be improved by adding glitters and placing different sizes of stars. The tools that are needed are chosen nail polish colour, a fine-tipped brush, and a clear coat. Paint the nails using the chosen nail polish colour. Consider the colour of the star to match the colour of the nail. Apply the nail polish twice, with dry time between each coat. Using the fine-tipped brush, draw different sizes of stars on each nail. After the nail polish dries, apply a top coat.

8. Teal and Gold Nail Design
Teal and Gold Nail Design is a gorgeous and royal nail art design that is best for both long-nailed and short-nailed women. The teal nail design is inspired by grass and water nature that can be combined with a sparkling colour like gold glitters. The tools that are needed to achieve Teal and Gold Nail Design are teal nail polish, fine-tipped brush, gold glittery gel, sheer neutral colour, and top coat. Apply the teal colour nail polish to the fingernails. The sheer neutral nail polish should be on the other two fingernails, it can be the ring fingers. Coat the fingernails twice. Get the gold glittery gel and the fine-tipped brush. Put a simple straight line in the middle of the first teal-coloured nail using the gold glitter gel. On the other fingernails, make different shapes and designs, like horizontal lines or diagonal lines. Moving on to the first nude nail, cover half of the nail with teal-coloured nail polish. Use the fine-tipped brush to make the outline tidy and clean. Draw a triangle using the gold glitter gel. Start putting a line in the middle, overlapping the teal-coloured part of the nail. Create sidelines to make a triangle. For the second nude nail, draw a line in the middle using teal nail polish. Mark the bottoms of both sides and do a straight line going up to the end of the top middle line that makes it look like a triangle. Colour the whole triangle with teal nail polish. Apply the gold glitter gel depending on the desired design on each fingernail and finish with a white top coat.

9. Party Dots Nail Design
Party Dots Nail Design is a fun and fashionable nail art design using colourful polka dots design. Polka dots are one of the funniest and most outgoing patterns that can be added to a nail. The tools that are needed to achieve Party Dots Nail Design are any bright colours of nail polish, a fine-tipped brush clear base colour, and a top coat. File and shape the nail and apply a clear base coat. Any colour can be used as a base coat, but make sure that it matches the colour of the polka dots. Create a dot over the nails using the bright colour nail polish and the fine-tipped brush. A cuticle stick or a toothpick can be used as equipment to create polka dots. Dots can be small, bolder, or overlapping, depending on the desired outcome. Let it dry and apply the top coat after.

10. Colourful Lines Nail Design
Colourful Lines Nail Design is a simple and easy nail art design that can be done at home. This design makes the look fun and interesting by using horizontal lines and vertical lines. To create a perfect Colourful Lines Nail Design, the tools needed are colourful nail polish, a fine-tipped brush, striping tape or sticker, sheer neutral nail polish, and a top coat. Smear the sheer neutral nail polish on the fingernails after filing and shaping it. Use colourful striping tape to make lines over the nails. It could be horizontal, vertical, or diagonal lines across the nails. Colourful nail polish or nail paint and a fine-tipped brush can be used to draw the lines. After making lines, let it dry and apply a top coat.

What nail designs look best on short nails?
Fancy and beautiful nail art designs are not only for long nails but also for someone who has fragile nails, and those who are not a lover of long gel and acrylic nails. Short-nailed women can flaunt various unique and amazing nail art designs.
Listed below are the nail designs that look best on short nails.
Two-toned Nail: Two-toned nail art design is applying two different colours of nail polish on a fingernail. The process of the two-toned nail art design is simple, choose the desired colour and apply it to the nails. Striping tape can be used by beginners on making angular designs. Angular designs make the short nails look longer.
Geometric Half Moons: Geometric half-moons are a nail art design where the half of the nail is the only coloured part. It is a long-lasting nail art design, even the black space at the bottom of the nails grows. For a clean and neat outcome, use nail tape or striping tape for beginners.
Glitter Tips: Glitter tips give a shimmer to the short-nailed women that make it longer because the glitters are only applied on the tip of the nails. It is an easy nail art design because glittery nail polish doesn’t have to be applied perfectly.
How to do nail design at home for beginners?
These are the tools that are needed for doing nail design at home for beginners.
- Favourite shades of nail polish
- Cotton balls
- Clear nail polish
- Nail polish remover
- Unused toothbrush
- White nail polish as a base
Steps on doing nail art design at home for beginners.
Apply base coat: Plain and not bright colours can be used as a base coat, but white is the most recommendable colour because it makes the other colour noticeable.
Design the nails: Get the toothbrush and the desired colour to be used on the nail. Pour the nail polish directly on the toothbrush, or transfer it to a clean surface. Use the thumb to stroke the bristles of the toothbrush to spatter the nail polish away from the nails. Repeat until the desired effect is achieved.
Clean up and finish: Put the right amount of nail polish remover on the cotton balls to clean the areas around the nails. Apply a clear coat of nail polish to finish the art design.
Is nail polish harmful to the nails?
Yes. The nail polishing destroys the nails, mostly because of the remover or the acetone and the exposure of the nails to UV light. UV light exposure makes the nails delicate that resulting in non-permanent discolouration and deforming of the nail plate. Acetone also makes the nails dehydrated if frequently used.
Is it safe to wear nail polish on a daily basis?
Yes. Most nail polishes are toxic and made of chemicals that can lead to discolouring, and breakage. Chemicals get into the nail beds when worn for a long period. It is advisable to take a break or do a nail Polish holiday to give the nails a rest from all the harmful chemicals. Remove the nail polish every after two weeks and wait for one to two days to repaint the nails.